Garden edging has become one of the hottest trends in landscaping, offering both aesthetic appeal and practical benefits.
Whether you’re looking to define your flower beds, create clear pathways, or add a stylish touch to your lawn, edging helps enhance the overall appearance of your garden while making maintenance easier.
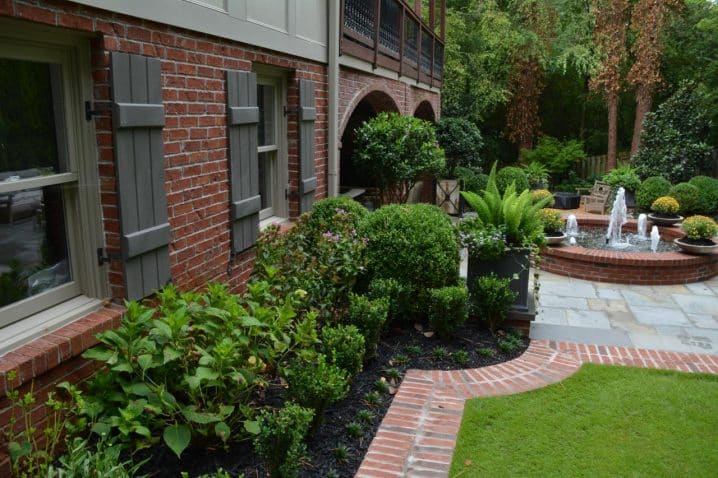
When it comes to paving pathways and patios, bricks remain one of the most timeless and durable materials. Their rich red tones and classic design complement any garden style, from rustic to modern landscapes.
If you’re considering adding brick edging to your garden, we’ve prepared a guide to help you explore different design ideas and provide a step-by-step tutorial for installation.
Why Choose Brick Garden Edging?
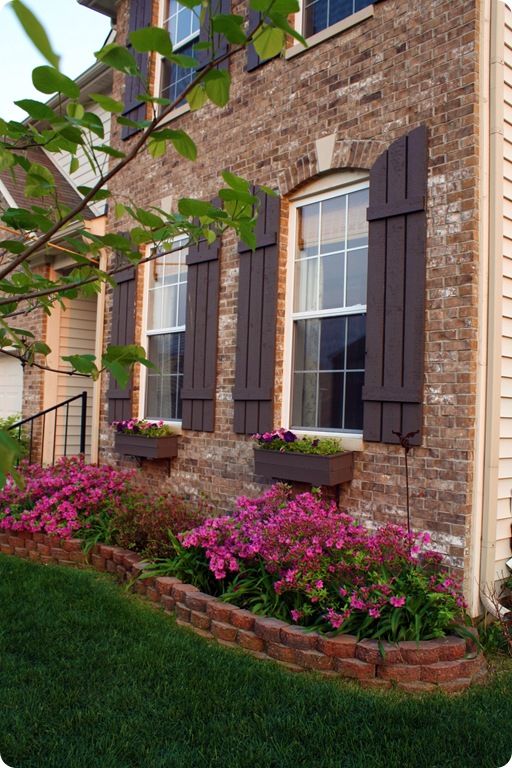
✔ Enhances Visual Appeal – Defines garden beds, giving your landscape a polished look.
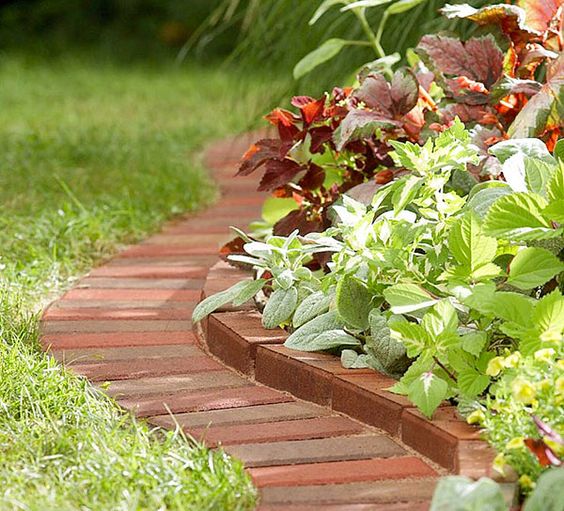
✔ Keeps Plants Contained – Prevents grass and invasive plants from creeping into flower beds.
✔ Protects Against Animals – Creates a barrier against pets, rabbits, and other small critters.
✔ Low-Maintenance & Durable – Bricks last for decades with minimal upkeep.
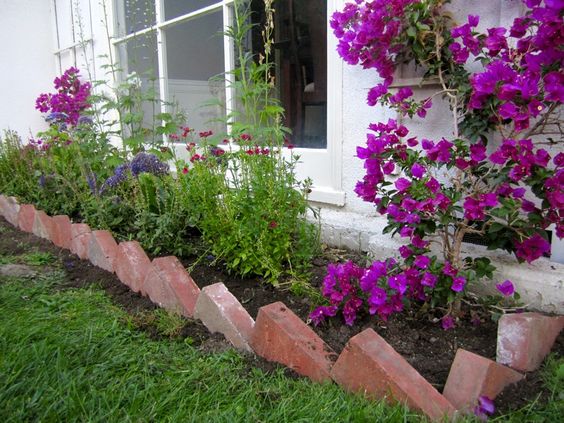
✔ Works with Any Garden Style – Complements modern, cottage, or traditional landscapes.
✔ Weather-Resistant – Withstands rain, heat, and frost, making it ideal for all seasons.
💡 Pro Tip: For a cohesive garden look, match your brick edging with existing pathways, patios, or walls!
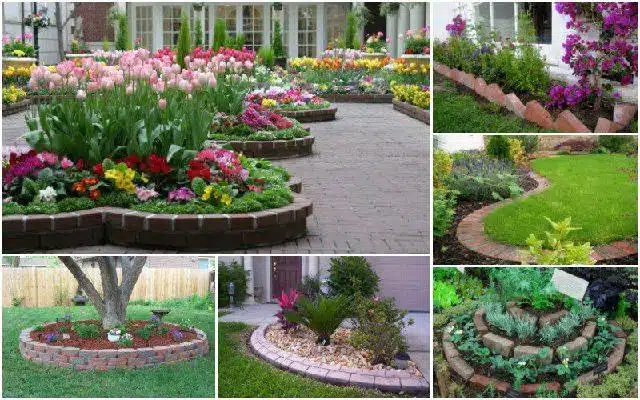
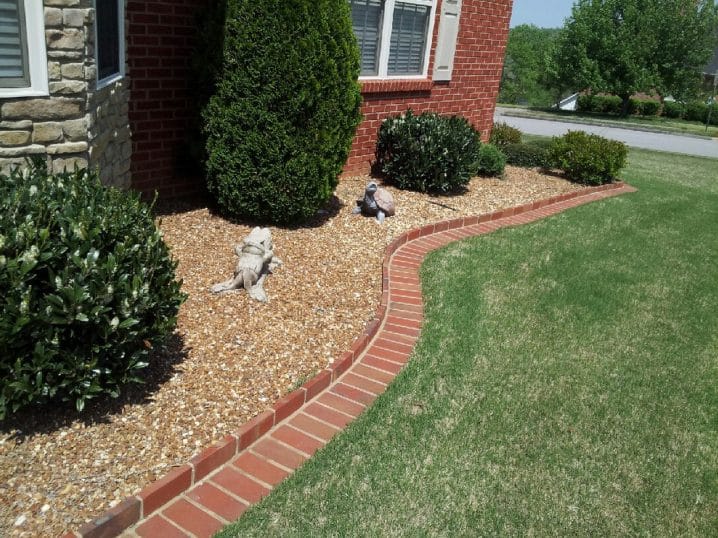
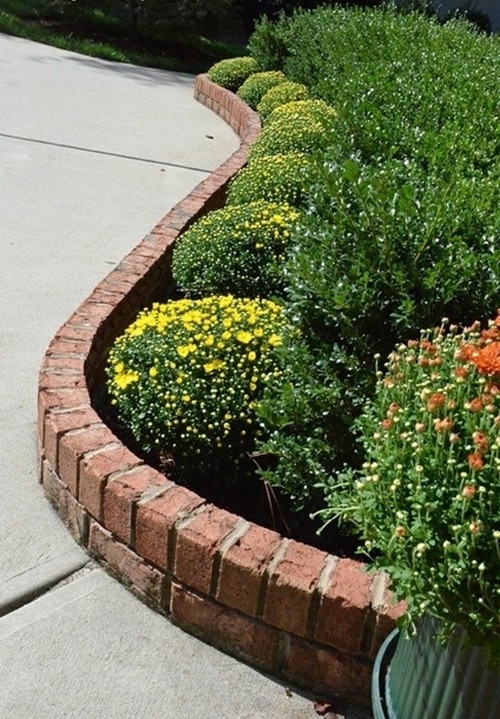
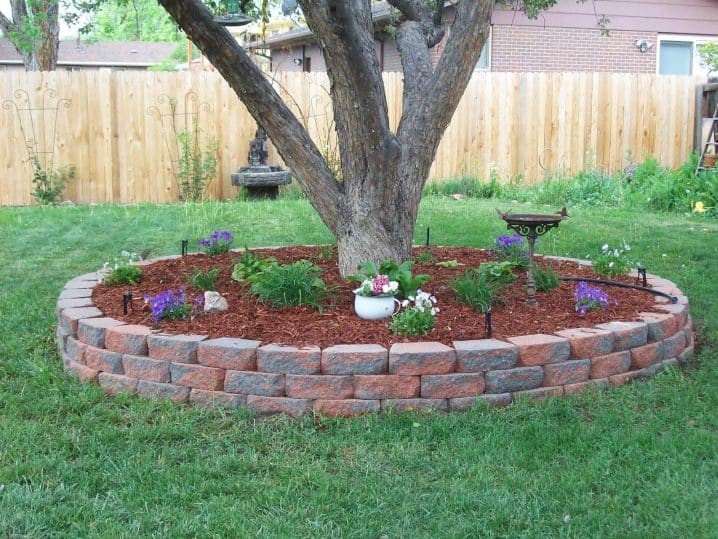
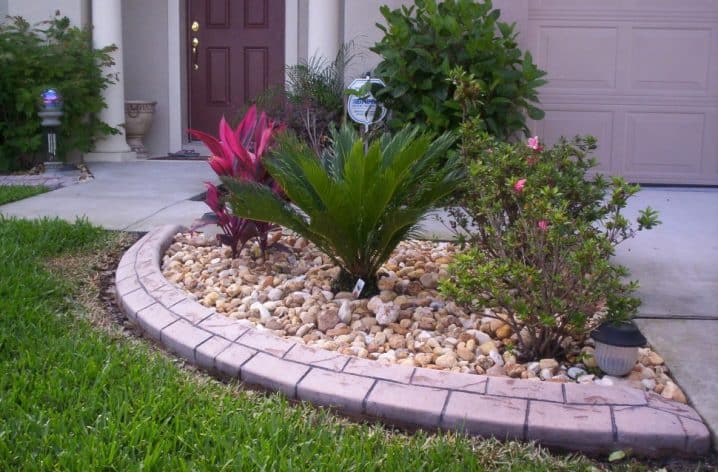
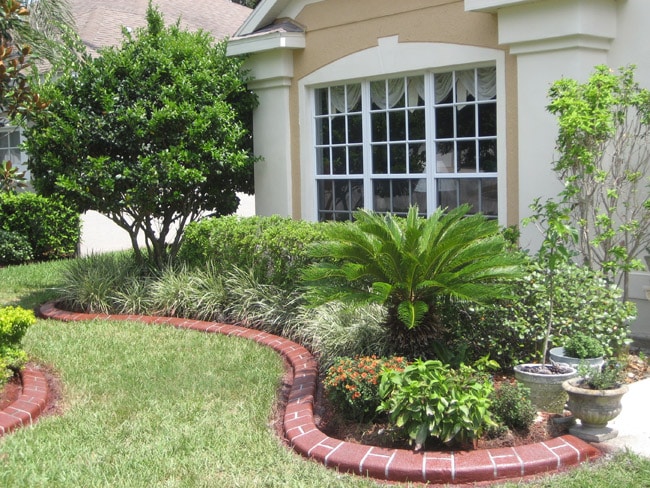
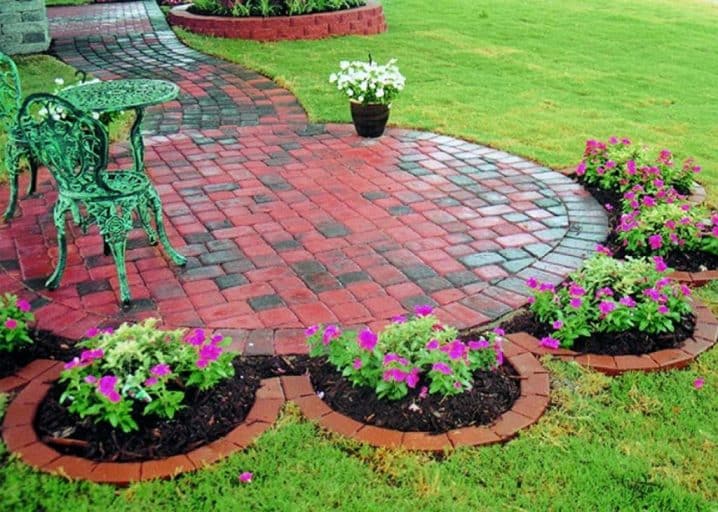
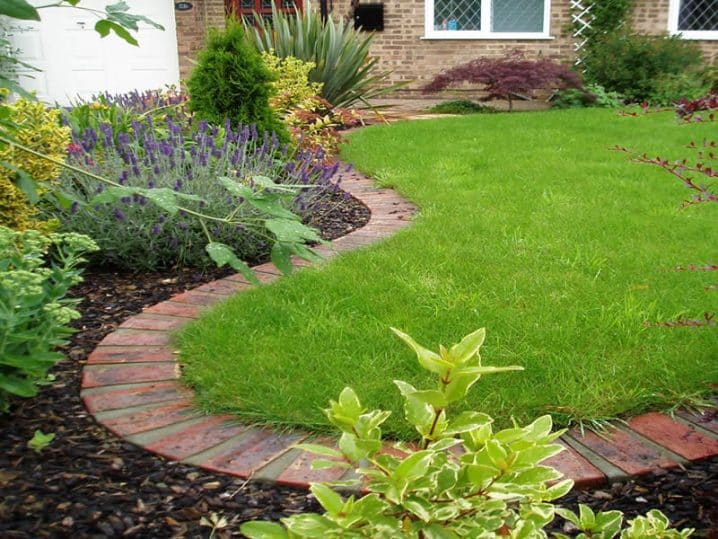
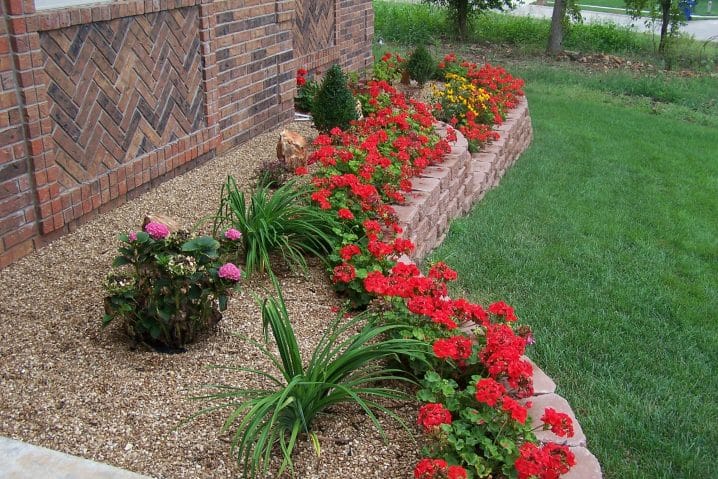
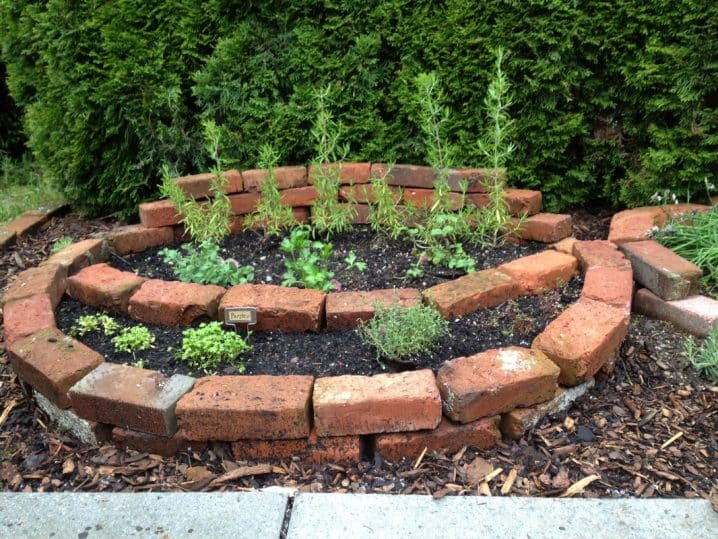
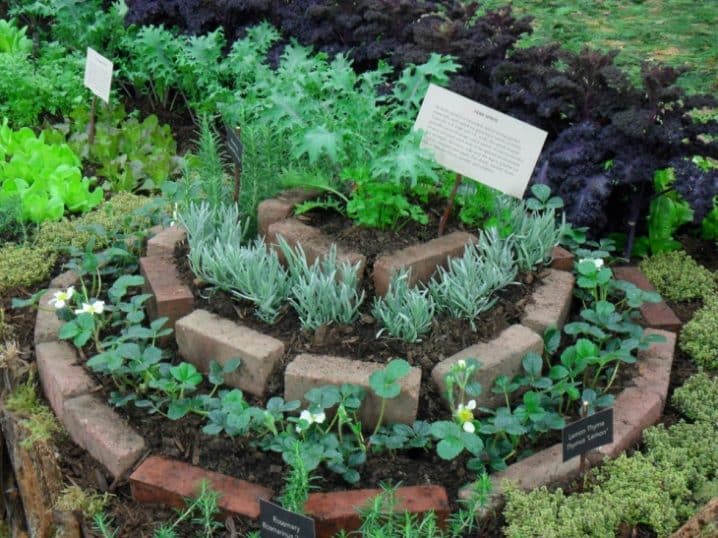
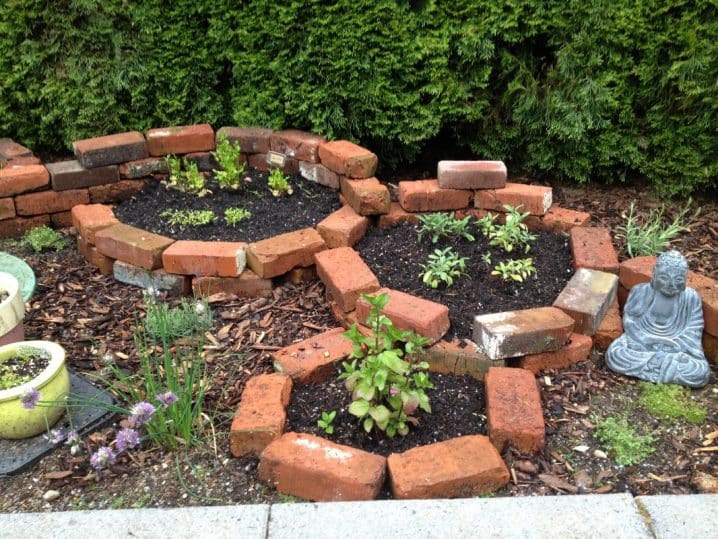
We have prepared several ideas to get you started on your garden edging project! Take a look at the images below.
How to Install Brick Edging in Your Garden
Adding brick edging to your garden is a straightforward DIY project that requires minimal tools and effort.
Follow these easy step-by-step instructions to achieve a professional-looking result!
Materials Needed:
✔ Bricks (choose your preferred style and color)
✔ Shovel or spade
✔ Landscaping fabric
✔ Level
✔ Sand or gravel for the base
✔ Mallet or rubber hammer
✔ Garden hose (for curved edging)
✔ Soil or mulch for finishing
Step 1: Plan and Mark the Edging Area
- Use a garden hose or rope to map out the edging shape.
- Mark the area with stakes or spray paint.
💡 Tip: If creating a curved design, lay bricks on the ground first to visualize the shape before digging.
Step 2: Dig a Trench for the Bricks
- Use a shovel to dig a 4-6 inch deep trench along the marked area.
- The trench should be wide enough to fit the bricks snugly.
💡 Tip: A deeper trench (up to 8 inches) is recommended for stacked or raised brick edging.
Step 3: Add a Foundation Base
- Line the trench with landscaping fabric to prevent weed growth.
- Pour a layer of sand or fine gravel (1-2 inches thick) to create a stable foundation.
- Use a tamper tool to compact the base for stability.
💡 Tip: A level base prevents bricks from shifting over time.
Step 4: Lay the Bricks
- Start placing the bricks in your chosen pattern.
- Tap each brick gently with a mallet to ensure a tight fit.
- For raised edges, stack additional bricks and secure them with mortar or adhesive.
💡 Tip: Use a level to check alignment every few rows.
Step 5: Secure the Edging
- Once all bricks are placed, fill gaps with sand and brush it into crevices.
- Water the area slightly to help sand settle.
- Press surrounding soil or mulch against the bricks to lock them in place.
💡 Tip: Add decorative pebbles or plants along the edge for a finished look.
Maintenance Tips for Long-Lasting Brick Edging
✔ Weed Prevention – Apply pre-emergent herbicide or vinegar to prevent weeds between bricks.
✔ Check for Shifting – Inspect bricks seasonally and reset any that move out of place.
✔ Seal the Bricks – Use a brick sealer to protect against moisture and fading.
✔ Power Wash Occasionally – A light wash removes dirt, algae, and moss buildup.

Brick garden edging is a timeless landscaping feature that not only enhances your garden’s appearance but also makes maintenance easier.
Whether you prefer straight lines, curves, stacked bricks, or intricate patterns, this versatile and durable edging option will add structure and beauty to any outdoor space.


