
One of the most surprising and rewarding things about everyday kitchen scraps is this: many of them can be regrown into fresh, edible plants with nothing more than water, sunlight, and a bit of patience.
Instead of tossing those bits and ends into the trash or compost pile, you can turn waste into an endless supply of herbs and vegetables, saving money and reducing food waste.
Whether you have a small windowsill, balcony, or backyard garden, these regrowing tricks are perfect for beginners and apartment dwellers alike.
Here are 7 of the easiest and most commonly regrown kitchen scraps, with step-by-step tips on how to grow them successfully at home.
1. Green Onions (Scallions)
Why They’re Popular: Green onions are one of the fastest and most reliable vegetables to regrow, making them ideal for beginner gardeners and kids alike.
How to Regrow:
-
Cut the green tops off, leaving about 1 to 2 inches of the white root end.
-
Place the root end in a shallow glass of water, root-side down.
-
Put the glass on a sunny windowsill and change the water daily.
-
Within a few days, green shoots will begin to grow.
-
Once the shoots reach 3–4 inches, you can harvest or transplant into potting soil for longer-lasting growth.
Pro Tip: Keep trimming and the plant will keep growing. You can reharvest multiple times!

2. Celery
Why It Works: Celery regenerates easily from its base and doesn’t need much to get started—just a dish of water and sunlight.
How to Regrow:
-
Cut about 2 inches from the bottom of a celery bunch.
-
Place the base in a shallow bowl of clean water, with the cut side facing up.
-
Set in a warm, sunny window or under grow lights.
-
Mist the top of the celery daily and change the water every couple of days.
-
In about a week, you’ll see new leaves sprouting from the center.
-
After 10–14 days, transplant the base into potting soil, burying everything except the new shoots.
Pro Tip: Celery prefers cooler weather and moist soil. Harvest outer stalks when mature while letting the inner ones continue to grow.

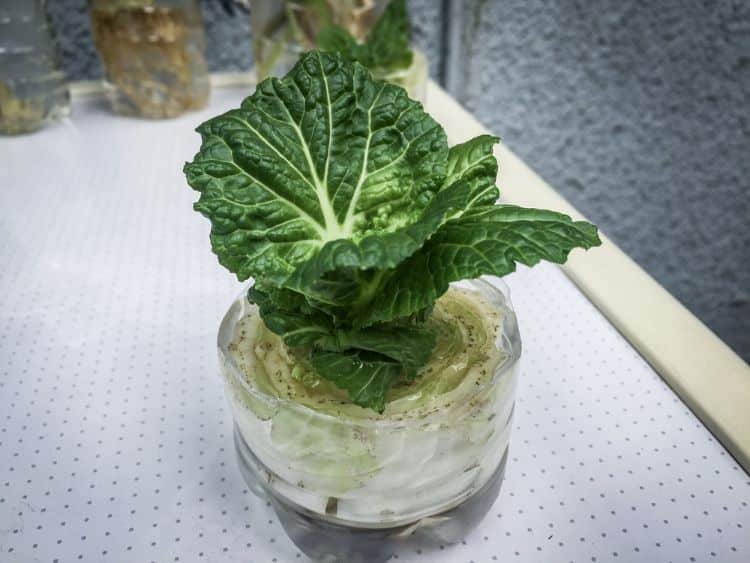
3. Romaine Lettuce
Why It’s a Favorite: Like celery, romaine lettuce grows quickly from its core, and you can start harvesting small leaves within days.
How to Regrow:
-
Save the bottom 2 inches of a romaine head.
-
Place the base in a shallow container of water, covering only the root end.
-
Put it in a sunny spot, like a south-facing windowsill.
-
Mist or gently rinse the center daily to encourage new growth.
-
New leaves will begin to emerge from the core in 4–5 days.
-
Once leaves are 2–3 inches tall, you can harvest or transplant to soil for a fuller head.
Pro Tip: You can do this with butter lettuce and iceberg too. Use fresh water and avoid full sun during hot months to prevent wilting.
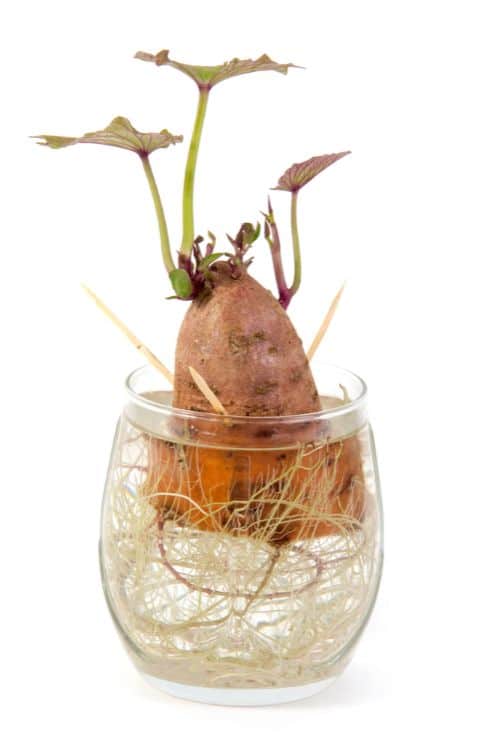
4. Potatoes
Why It Works: Potatoes naturally sprout when left in dark, cool places. If they’ve already grown “eyes,” they’re ready for planting.
How to Regrow:
-
Choose organic potatoes with at least 2–3 eyes (sprouts).
-
Cut into chunks, each with at least one or two eyes.
-
Let the pieces sit at room temperature for 2–3 days to form a protective callous.
-
Plant in soil about 4 inches deep, eyes facing up.
-
As the plant grows, “hill” the soil around the base to encourage more tubers.
Pro Tip: Potatoes grow best in containers or grow bags with deep, loose soil. Water consistently and harvest when foliage begins to die back.
5. Tomatoes (From Slices)
Why It’s Unexpected: Many people buy tomato seedlings, but tomatoes grow easily from seeds found in ripe fruit.
How to Regrow:
-
Slice a ripe or overripe tomato into ¼-inch thick slices.
-
Lay slices flat on top of moist potting soil in a container or seed tray.
-
Cover lightly with ½ inch of soil and water gently.
-
Place in a warm, sunny location.
-
In 7–14 days, seedlings will sprout. Once they grow to 2–3 inches, thin them out or transplant to larger pots or the garden.
Pro Tip: Use heirloom or organic tomatoes to ensure viable seeds. Avoid hybrids, which may not grow true to type.
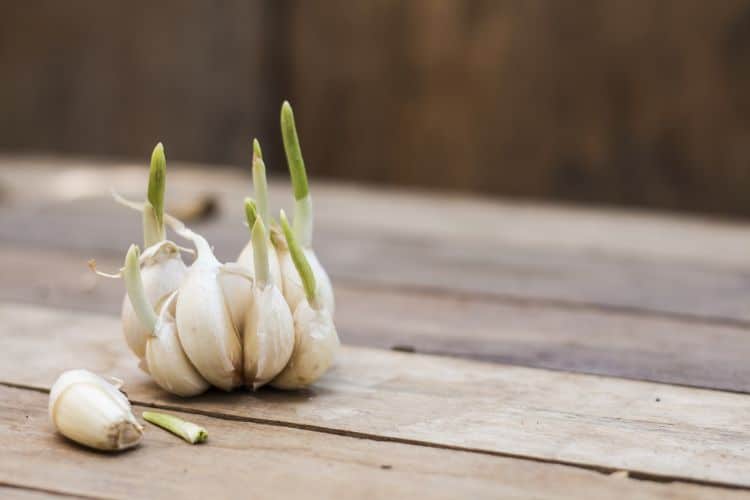
6. Garlic
Why It’s Easy: Garlic cloves naturally sprout when left too long in storage. You can use those sprouted cloves to grow entire new bulbs.
How to Regrow:
-
Separate a garlic bulb into individual cloves.
-
Plant each clove pointy end up, about 2 inches deep in a pot or garden bed.
-
Water well and place in full sun.
-
Mulch heavily to retain moisture and suppress weeds.
-
In late spring or summer, remove garlic scapes (flower stalks) to divert energy to bulb growth.
-
Harvest when the lower leaves begin to dry and yellow.
Pro Tip: For best results, plant garlic in fall for a summer harvest, or in early spring for smaller bulbs.
7. Cilantro
Why It’s Popular: Cilantro regrows from stem cuttings and can be transferred into soil for continuous harvesting.
How to Regrow:
-
Take a 4–5 inch cutting from a healthy cilantro stem.
-
Place in a glass of water, ensuring the cut end is submerged.
-
Set in a bright window with indirect sunlight.
-
Change the water every 2–3 days.
-
Once roots grow to 2 inches long, transplant into soil.
-
Water regularly and harvest leaves from the top to encourage bushy growth.
Pro Tip: Cilantro tends to bolt in heat, so grow it in partial shade in hot climates or during cooler months.
Regrowing vegetables and herbs from kitchen scraps is not only fun and rewarding—it’s a sustainable and cost-effective way to grow food at home.
From green onions on your windowsill to garlic in your backyard, these simple methods help reduce waste and create a cycle of fresh growth from everyday ingredients.
Even if you don’t have a traditional garden, all you need is a few containers, clean water, and sunlight to enjoy fresh, organic produce straight from your kitchen scraps. Start small, stay curious, and watch your countertop leftovers turn into lush new growth.


