
Looking for a fun, affordable, and creative way to brighten up your garden? Painting little stones is a charming DIY activity that adds a personal touch to outdoor spaces—no green thumb required!
Whether you’re decorating a flower bed, adding personality to a potted plant, or crafting a fairy garden, painted stones make beautiful and budget-friendly garden art.
This simple project is perfect for all ages and skill levels, and it can be done with materials you likely already have at home. Plus, it’s a great way to upcycle natural elements into lasting, weather-resistant garden décor.
In this guide, you’ll learn how to paint little stones for garden decoration, including the best types of paint, design ideas, sealing tips, and how to display your creations.
Why Painted Stones Make Great Garden Decorations
Painted garden stones are one of the most popular and rewarding garden crafts, and for good reason. They’re:
-
Inexpensive and easy to make
-
Durable and weather-resistant (with the right sealant)
-
Perfect for kids and adults
-
Customizable for any theme or season
-
Wonderful gifts for friends and family
You can use them to label herbs, mark pathways, or simply add a splash of color to your garden beds.
Materials You’ll Need to Paint Garden Stones
Before you start painting, gather these essential materials:
1. Smooth, Clean Stones
-
Look for flat or rounded stones that are easy to paint.
-
River rocks or beach pebbles work best.
-
Wash stones thoroughly and let them dry completely before painting.
2. Acrylic Paint or Outdoor Paint
-
Acrylic craft paints are perfect for stone painting.
-
Choose outdoor acrylic or patio paints for longer durability in gardens.
-
For more intricate designs, paint pens or permanent markers also work well.
3. Brushes and Sponges
-
Use a variety of brush sizes for details and backgrounds.
-
Sponges or foam brushes can be used for base coats or texture effects.
4. Pencil or Chalk (optional)
-
Sketch your design lightly before painting to plan spacing and details.
5. Clear Sealer or Varnish
-
Use a UV-resistant and waterproof sealer to protect your art from weather.
-
Spray-on sealers are easy to apply and ensure even coverage.

How to Paint Little Stones for Your Garden: Step-by-Step
Step 1: Choose and Clean Your Stones
Select your stones based on size and surface smoothness. Clean them with water and a brush to remove dirt and debris. Let them dry thoroughly before painting.
Step 2: Plan Your Design
Decide what you want your stones to look like. Use pencil or chalk to sketch the outline directly on the stone.
Step 3: Paint a Base Coat (Optional)
Applying a white or colored base coat helps your design stand out more, especially on darker stones. Let it dry completely.
Step 4: Add Details
Use smaller brushes or paint pens to add patterns, faces, flowers, insects, or text. Take your time—several light coats work better than one thick layer.
Step 5: Let Dry Completely
Allow painted stones to dry for several hours or overnight to ensure the paint sets properly before sealing.
Step 6: Apply Sealer
Use a clear outdoor sealer to protect your painted design from rain, sun, and fading. Apply 2–3 coats, allowing each coat to dry before adding the next.

Creative Painted Stone Ideas for Your Garden
Looking for inspiration? Here are some of the most popular and delightful painted rock designs for your outdoor space:
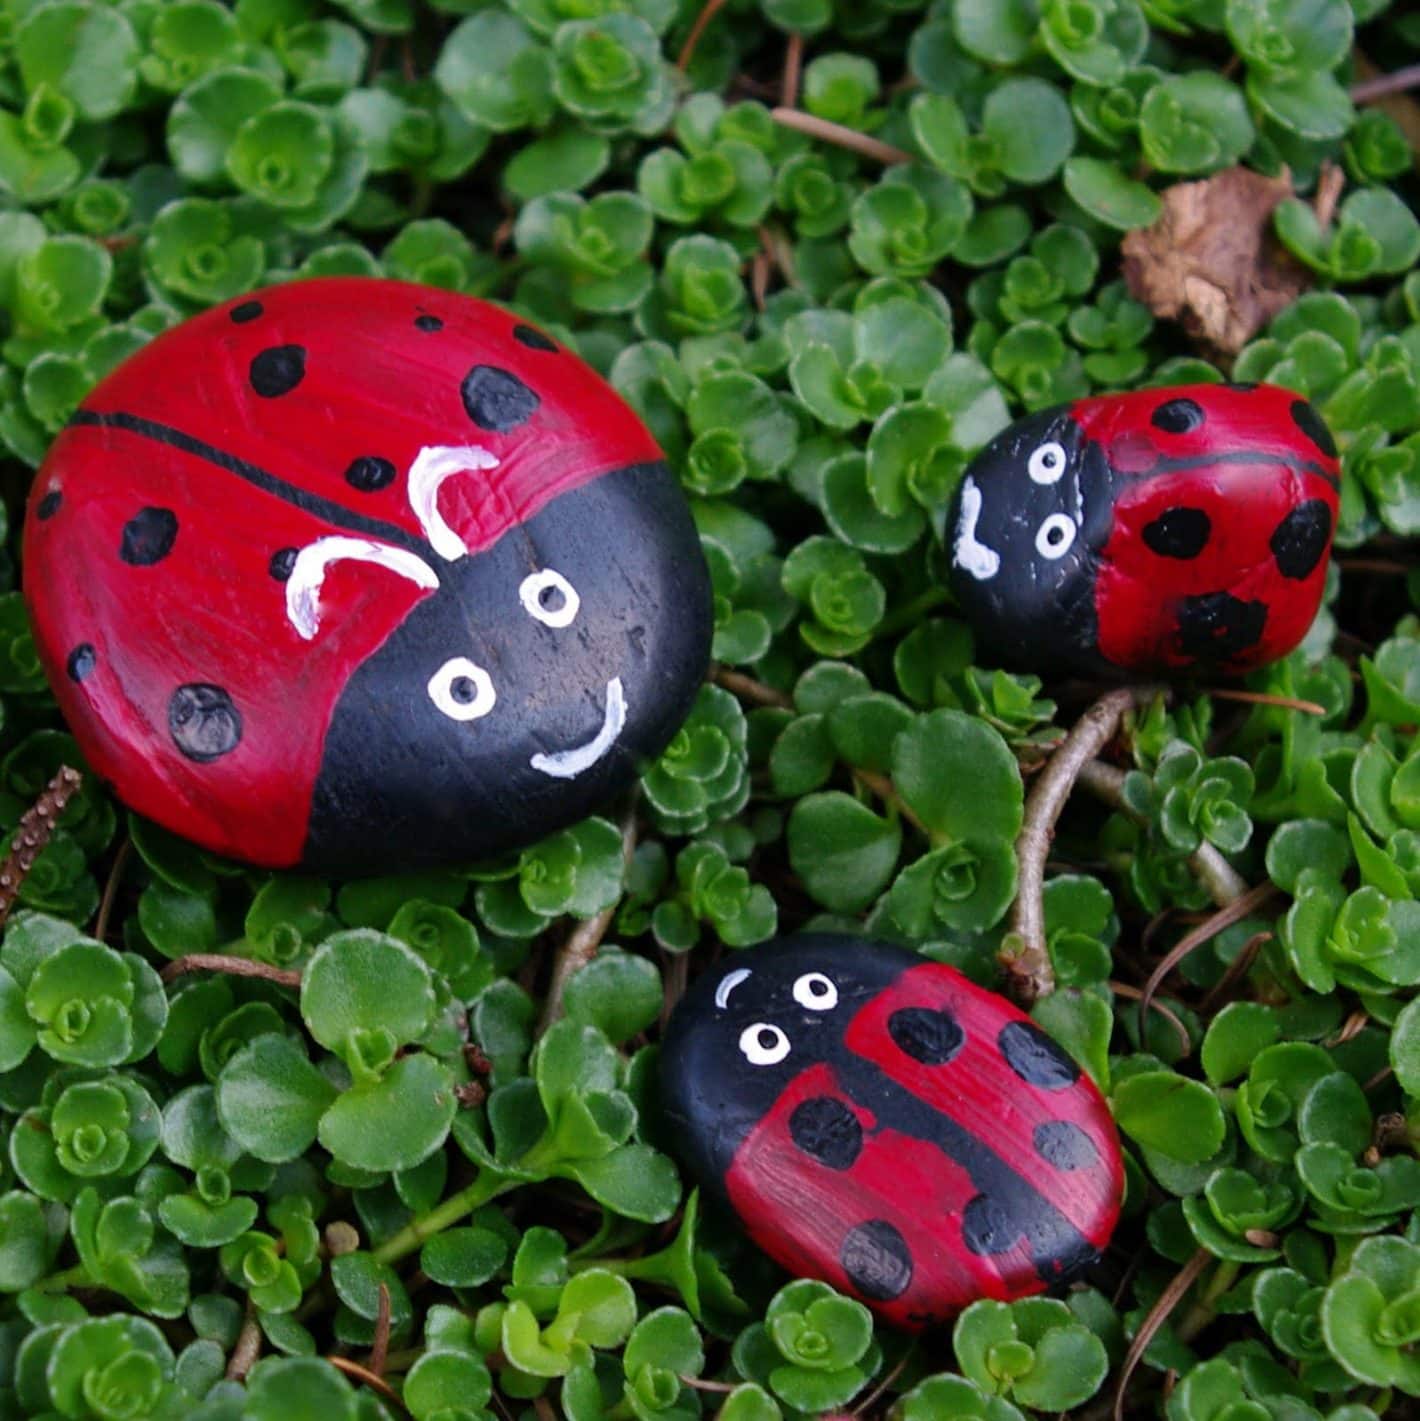
1. Ladybugs and Bees
Paint red, yellow, or orange stones with black dots and stripes to mimic adorable insects. Add googly eyes for extra cuteness!
2. Cactus Rocks
Paint your stones green with white prickles and plant them in small pots with pebbles for zero-maintenance cactus décor.
3. Garden Markers
Label your herbs and vegetables by painting the plant names and adding small illustrations—perfect for raised beds and kitchen gardens.
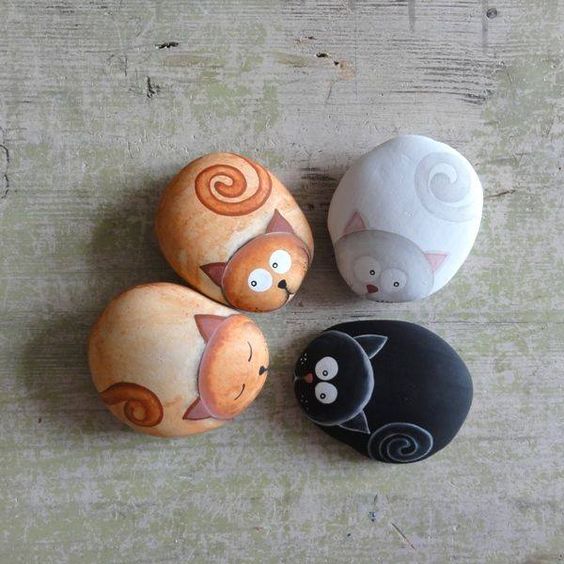
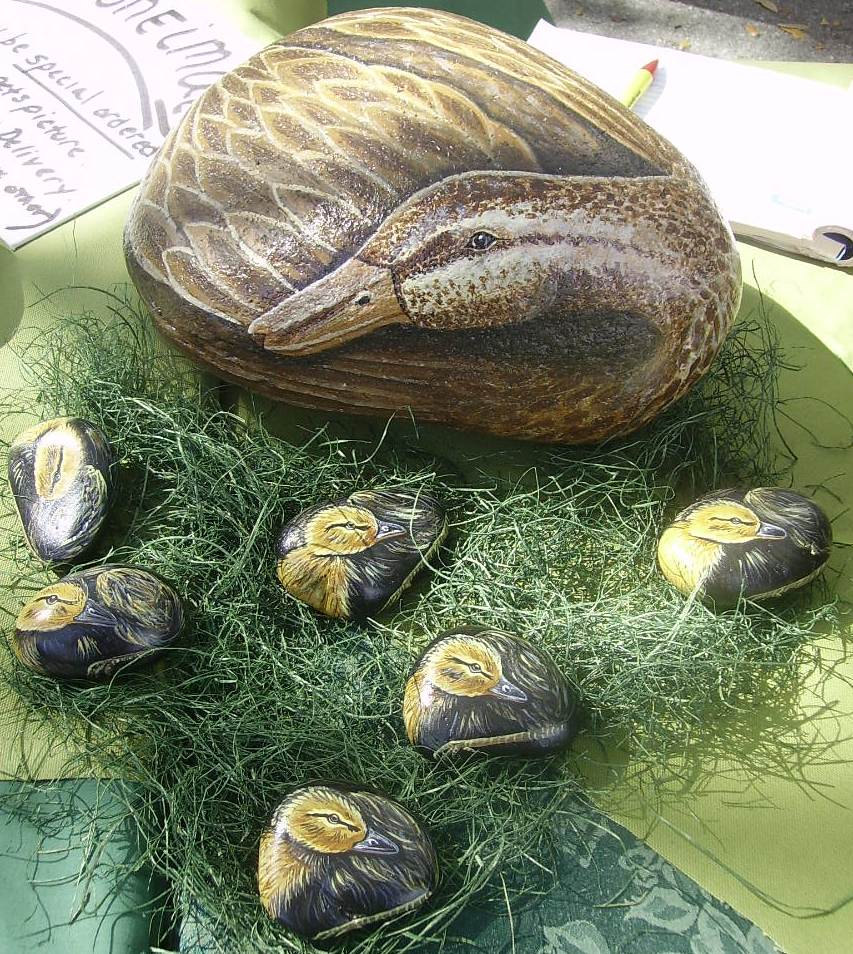
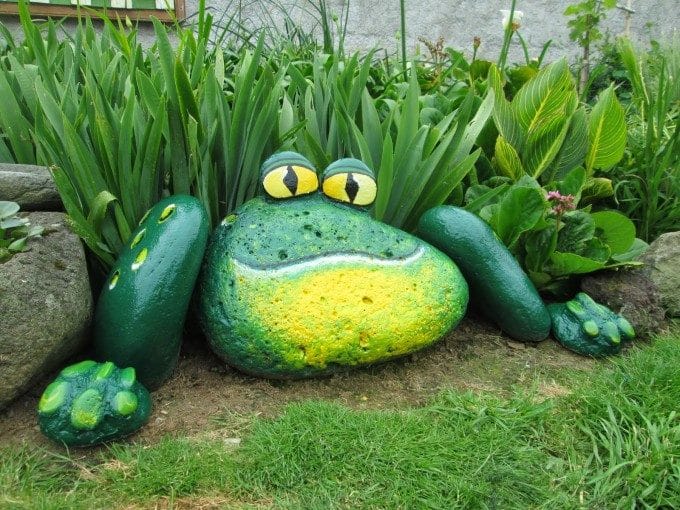
4. Animal Faces
Create owls, frogs, turtles, or even woodland creatures by painting eyes, fur patterns, or feathers onto the stone’s shape.
5. Inspirational Quotes
Add positive messages or single words like “Grow,” “Hope,” or “Bloom” to encourage and uplift anyone who visits your garden.
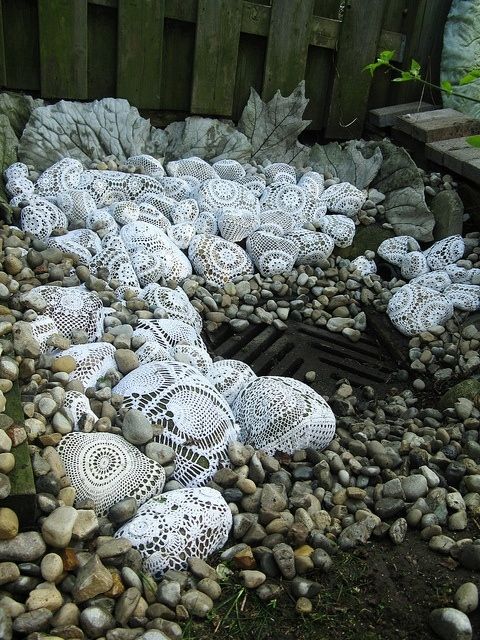
6. Mandala and Dot Art
Use dotting tools to create beautiful mandala patterns or geometric designs that add a touch of art and symmetry.
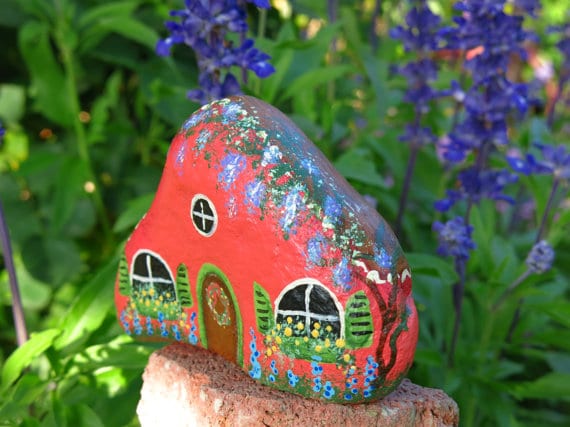
7. Painted Fairy Stones
Add whimsical touches to fairy gardens by painting tiny doors, mushrooms, and magical creatures on your stones.
8. Seasonal Themes
Switch up your decorations with seasonal stones: pumpkins for fall, snowflakes for winter, hearts for Valentine’s Day, and flowers for spring.

Where to Place Painted Stones in the Garden
Once your stones are painted and sealed, display them proudly! Some great places to feature your garden stone decorations include:
-
Garden beds and flower borders
-
At the base of trees or shrubs
-
Along walkways or stepping stone paths
-
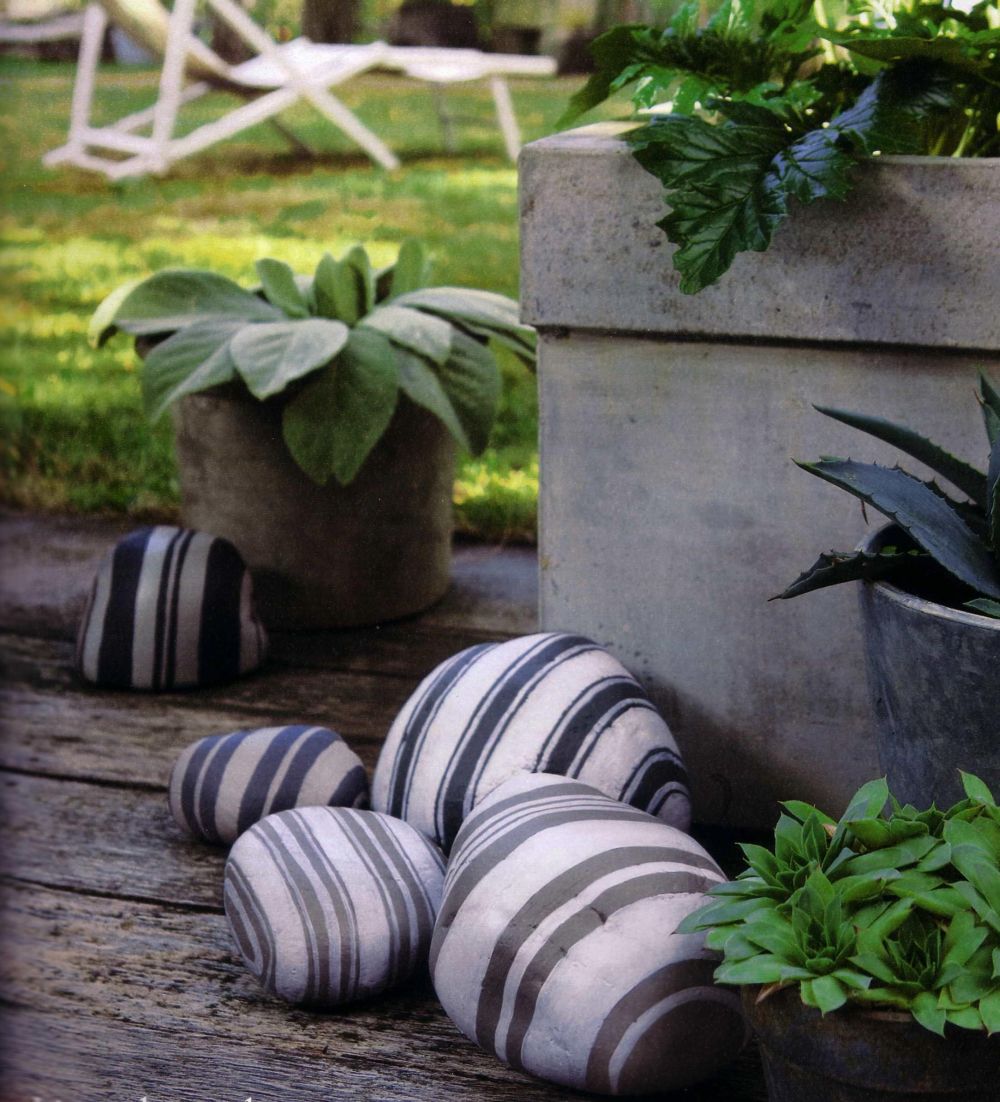
In potted plants or container gardens
-
Around water features or fountains
-
In fairy gardens or children’s play areas
You can even hide painted stones in parks or community gardens for others to find—a fun trend known as the “Kindness Rocks” movement.

Tips for Success
-
Use multiple thin layers of paint rather than one thick layer to prevent cracking.
-
Let each color dry completely before applying the next.
-
Store unused paint in airtight containers so you can continue your project later.
-
Involve kids or friends—this craft is a great group activity.
Painting little stones is a simple and rewarding way to personalize your outdoor space.
With a bit of creativity, some paint, and a few smooth rocks, you can create beautiful, weatherproof garden decorations that reflect your style and bring smiles to all who see them.
Whether you’re crafting a vibrant flower bed, building a whimsical fairy garden, or simply looking for a weekend DIY project, painted garden stones are a perfect blend of art and nature.
So, grab your paints, find some stones, and start decorating your garden—one brushstroke at a time!


