Growing strawberries in plastic bottles is an innovative, space-saving, and sustainable gardening method that is perfect for urban dwellers or those with limited garden space.
This method not only recycles plastic bottles, reducing waste, but also provides a fantastic way to cultivate your own fresh strawberries at home.
Here’s a step-by-step guide on how to set up your plastic bottle strawberry garden.
Materials Needed
- Plastic bottles (2-liter soda bottles are ideal)
- A sharp knife or scissors
- A drill or a nail for making drainage holes
- Potting soil, preferably a mix designed for container planting
- Strawberry plants or seeds
- A source of water
- Optional: string or wire for hanging
Step 1: Prepare the Bottles
- Clean the Bottles: Start by thoroughly washing the plastic bottles to remove any residues or labels. This is important to ensure that nothing harmful leaches into the soil and plants.
- Cut Openings: Using a sharp knife or scissors, carefully cut large rectangular openings on the side of each bottle.
These will serve as the areas where you’ll plant the strawberries. Make sure to leave enough space between the top and bottom of the cutouts to maintain the structural integrity of the bottle.
- Add Drainage Holes: Use a drill or a nail to make several small holes in the bottom of the bottle for drainage. Good drainage is crucial to prevent waterlogging, which could harm the plants.
Step 2: Fill with Soil and Plant
- Add Soil: Fill the bottles with high-quality potting soil. Ensure the soil is loosely packed to allow for good air circulation and water drainage.
- Plant Strawberries: If using strawberry runners, gently insert the roots into the soil through the cut openings, making sure each plant is securely placed. If planting seeds, follow the packet instructions for sowing depth and spacing.
Generally, planting seeds may require starting them indoors before transplanting.
Step 3: Watering
- Initial Watering: Water the plants thoroughly after planting to settle the soil around the roots or seeds. Be careful not to dislodge the soil from the openings.
- Ongoing Watering: Strawberries need consistent moisture. Water the plants regularly, especially during dry periods, ensuring the soil remains moist but not soggy.
Step 4: Positioning
- Sunlight: Strawberries require full sun to produce the best fruits. Place your bottle garden in a location where it will receive at least six hours of direct sunlight daily.
- Hanging the Bottles: If space is limited, you can hang the bottles using strings or wires.
Securely attach the string around the neck of the bottle and hang it from hooks on a balcony, fence, or wall. Ensure it’s stable and won’t swing too much in the wind.
Step 5: Care and Maintenance
- Feeding: Feed your strawberry plants with a balanced liquid fertilizer every two weeks during the growing season to promote healthy growth and abundant fruiting.
- Pest and Disease Management: Keep an eye out for signs of pests and diseases.
Treat infestations early with appropriate organic pesticides or natural remedies. Regularly check for dead or dying foliage and remove it to keep the plants healthy.
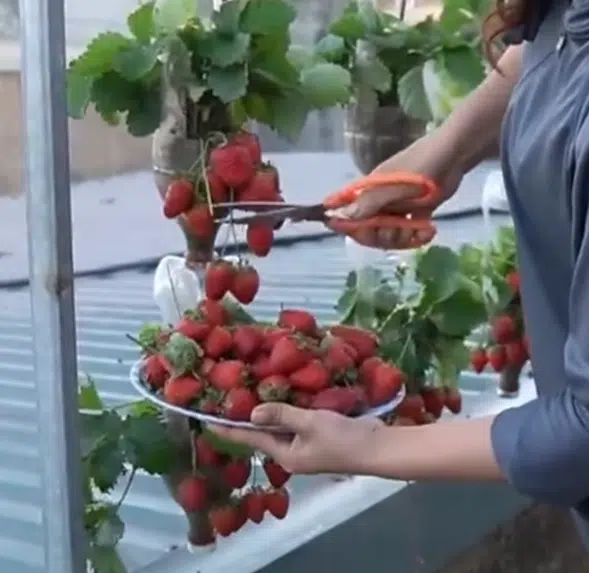
Harvesting
Strawberries are ready to harvest when they are fully red and have a firm texture.
Gently twist or cut the berries from the plant to avoid damaging the plant or the fruit.
Enjoy your strawberries fresh from the garden, in desserts, or preserve them for later use.
Conclusion
Growing strawberries in plastic bottles is not just a practical solution for space-challenged gardeners but also an excellent project for eco-conscious individuals looking to repurpose household waste.
This method allows you to enjoy fresh, sweet strawberries while minimizing your environmental footprint.
Whether you have a sprawling backyard or a small balcony, this approach to gardening can be adapted to fit your space and needs.


