
A dry creek bed is a beautiful and functional addition to any garden. It enhances the landscape with a natural, flowing aesthetic while also serving an important purpose—it helps manage rainwater runoff and prevents erosion.
If you live in an area prone to heavy rains or poor drainage, a dry creek bed is an excellent solution to direct water flow efficiently.
Even in drier climates, it can add a soothing, organic look to your garden without requiring much maintenance.
The best part? It’s easy to build! With a few simple tools and materials, you can create a stunning dry creek bed that enhances your outdoor space.
Benefits of a Dry Creek Bed
🌿 Improves Drainage: Directs rainwater away from your home and prevents pooling.
🌿 Prevents Erosion: Helps stabilize soil on slopes and reduces runoff damage.
🌿 Low-Maintenance Landscaping: Requires little upkeep compared to traditional flower beds or lawns.
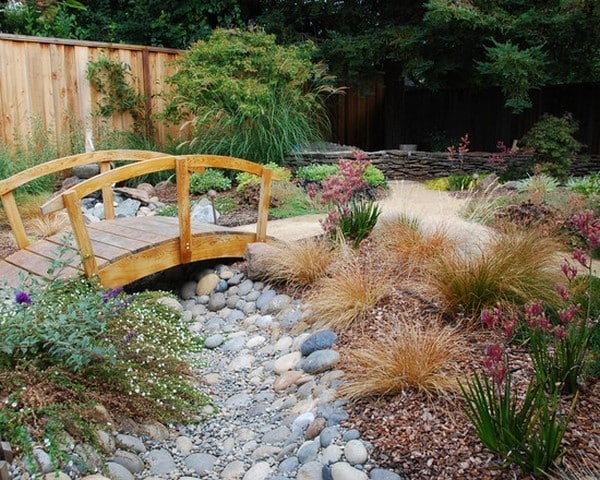
🌿 Adds Natural Beauty: Mimics a real stream and creates a peaceful, organic aesthetic.
🌿 Encourages Biodiversity: Attracts birds, butterflies, and beneficial insects.
🌿 Works in Any Climate: Looks beautiful whether it’s wet or dry.
Materials Needed
Before you start building, gather the right tools and materials:
- River rock or cobblestone (for the creek bed)
- Boulders & larger stones (for edging and structure)
- Weed fabric (to prevent weed growth)
- Shovel & rototiller (for digging the trench)
- Sand or gravel (for better drainage)
- Plants & ornamental grass (optional, for added beauty)
How to Build a Dry Creek Bed: Step-by-Step Guide
Step 1: Plan & Design Your Dry Creek Bed
Before you start digging, take some time to map out your creek bed.
Decide on the Path:
- A natural creek meanders rather than running straight—try to mimic this.
- Consider the slope and low spots in your yard where water naturally flows.
Mark the Layout:
- Use a garden hose, spray paint, or string to outline the shape of your creek bed.
- Ensure it curves gently for a natural, organic appearance.
Step 2: Dig the Trench
Once you have marked the layout, it’s time to start digging.
- Dig a shallow trench about 6–12 inches deep and 1–3 feet wide.
- If you’re dealing with heavy runoff, make the trench deeper.
- Use a rototiller to loosen compacted soil and improve drainage.
Tip: If your yard has a steep slope, you may need to deepen parts of the trench and add small “dams” of stone to slow down the water flow.
Step 3: Set Large Boulders & Create Edging
Now that the trench is ready, start adding structure with larger stones and boulders.
- Place large boulders along the edges of the creek bed to create a natural border.
- Use various sizes of rocks for a more authentic, layered look.
- Nestle some boulders partially into the soil to make them appear naturally embedded.
Tip: Arrange stones so they look random and natural rather than perfectly symmetrical.
Step 4: Install Weed Fabric
To prevent weeds from taking over your creek bed, lay down a high-quality landscape fabric.
- Cut the fabric to fit inside the trench.
- Overlap pieces by a few inches to avoid gaps.
- Secure the edges with landscape pins or heavy rocks.
Tip: Don’t skip this step! Weed fabric will save you hours of maintenance in the future.
Step 5: Add River Rock or Cobblestone
Now it’s time to fill your creek bed with smaller stones.
- Start by adding a base layer of sand or gravel for better drainage.
- Pour river rock or cobblestone over the trench, covering the weed fabric.
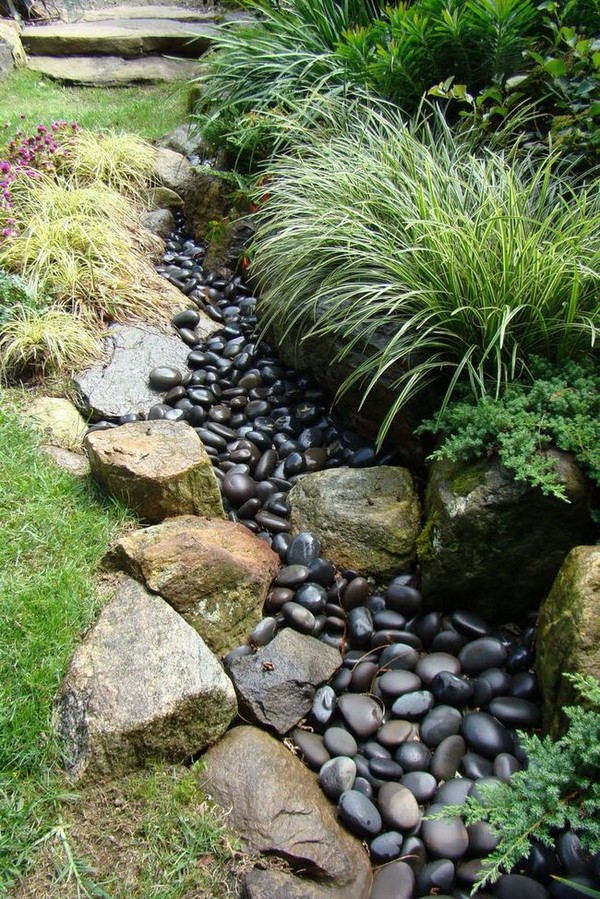
- Use different sizes of stone for a more natural, stream-like appearance.
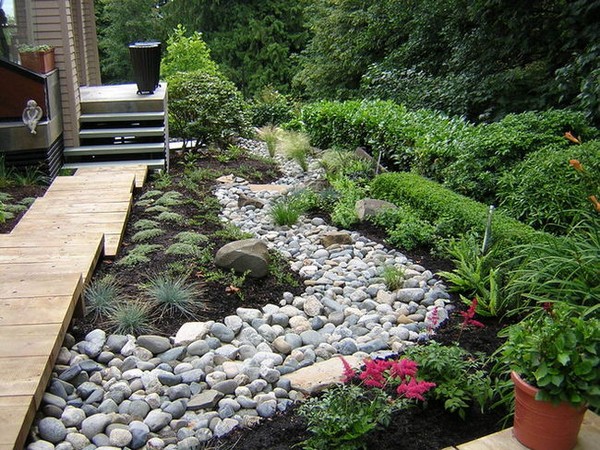
Tip: Mix light and dark-colored stones for contrast and visual appeal.
Step 6: Add Plants & Landscaping
To make your dry creek bed even more visually appealing, incorporate plants.
- Ornamental grasses like blue fescue or fountain grass for texture.
- Drought-tolerant plants like sedum, lavender, or creeping thyme for low maintenance.
- Ground covers like moss or creeping Jenny to soften the edges.
- Small shrubs & ferns for a more natural look.
Tip: Choose native plants that thrive in your climate and require minimal watering.
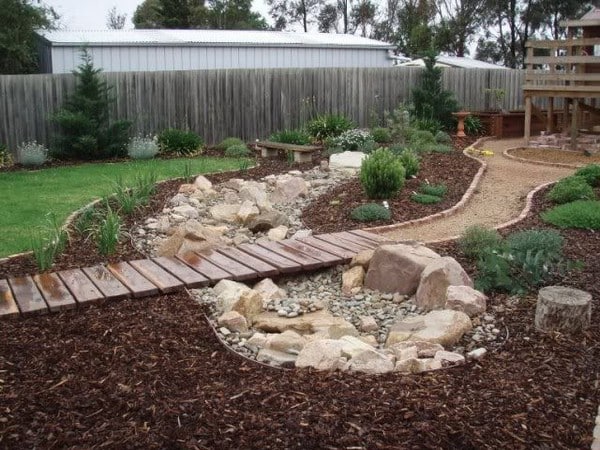
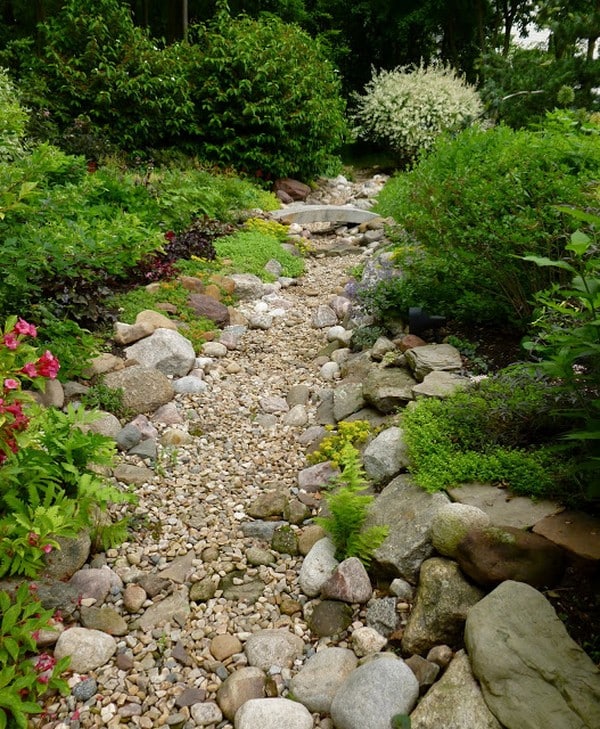
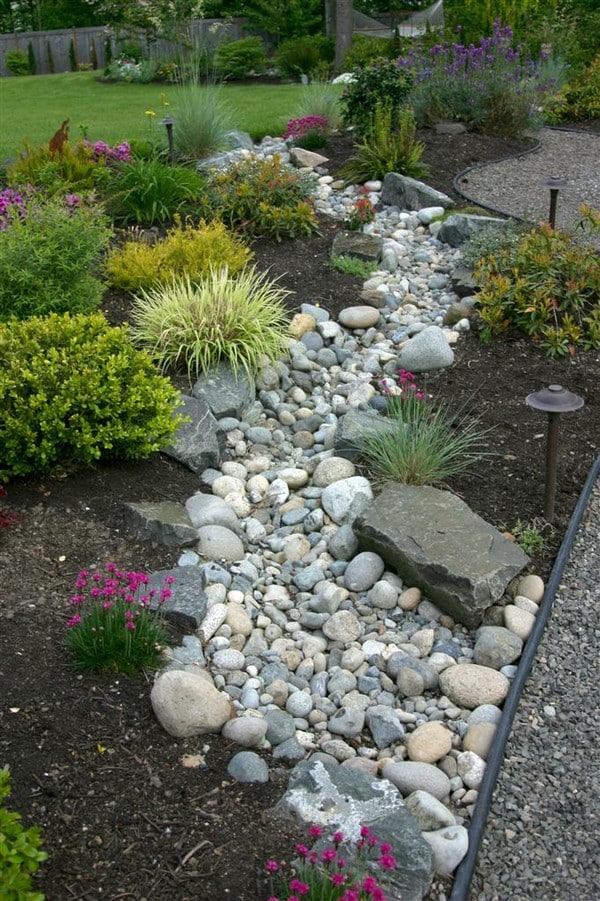
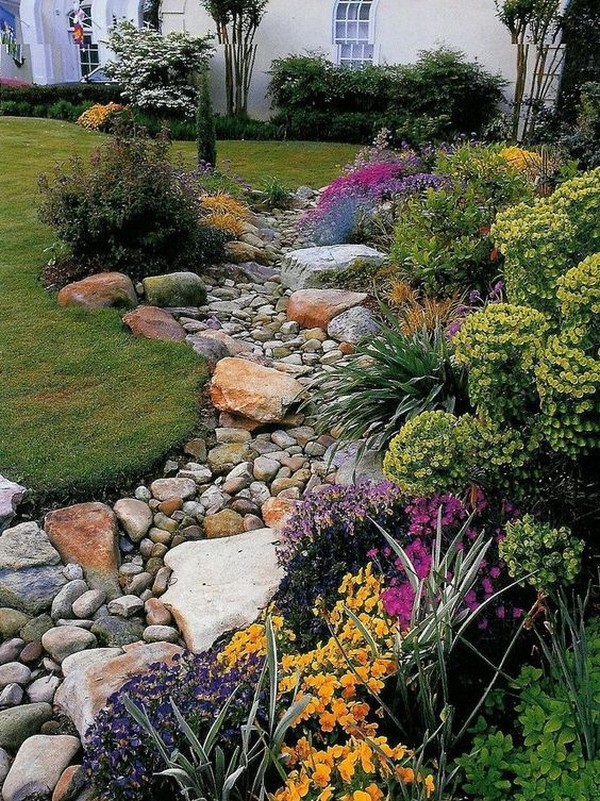
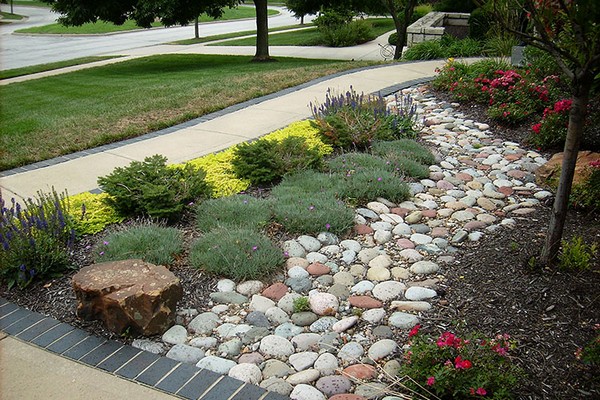
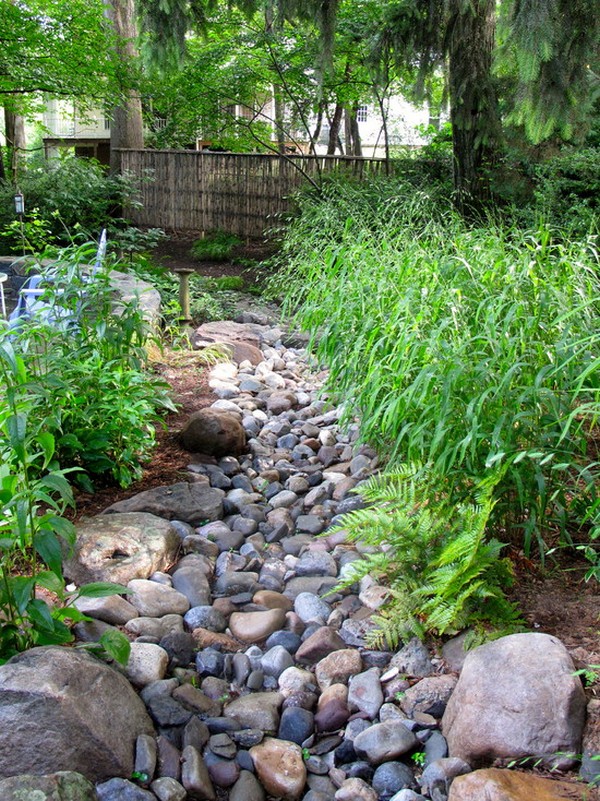
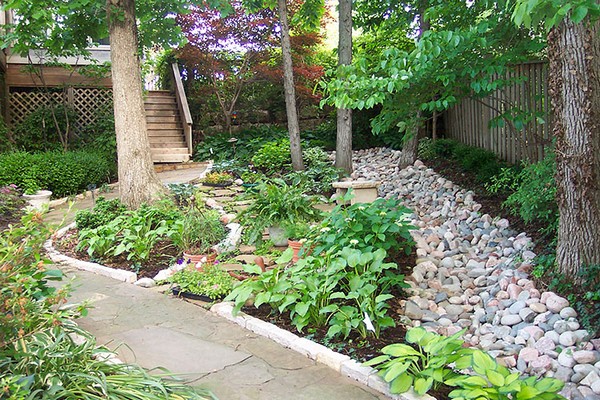
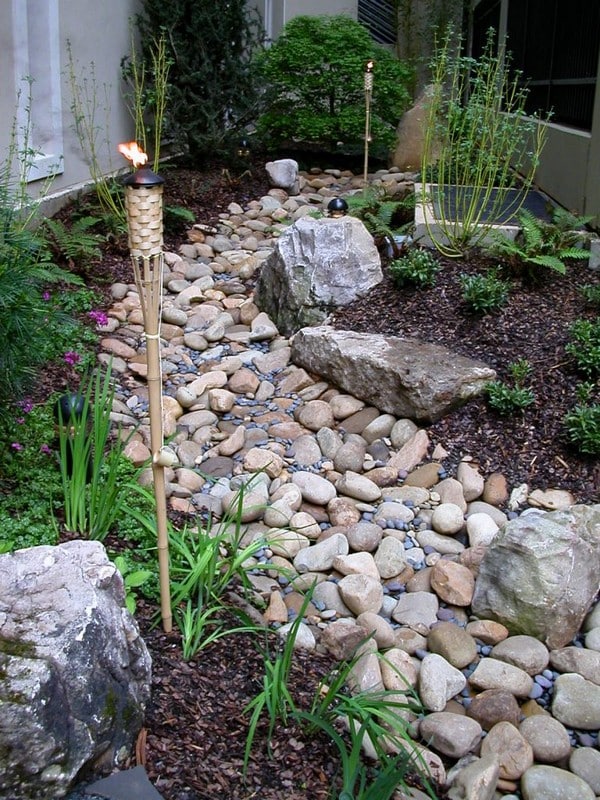
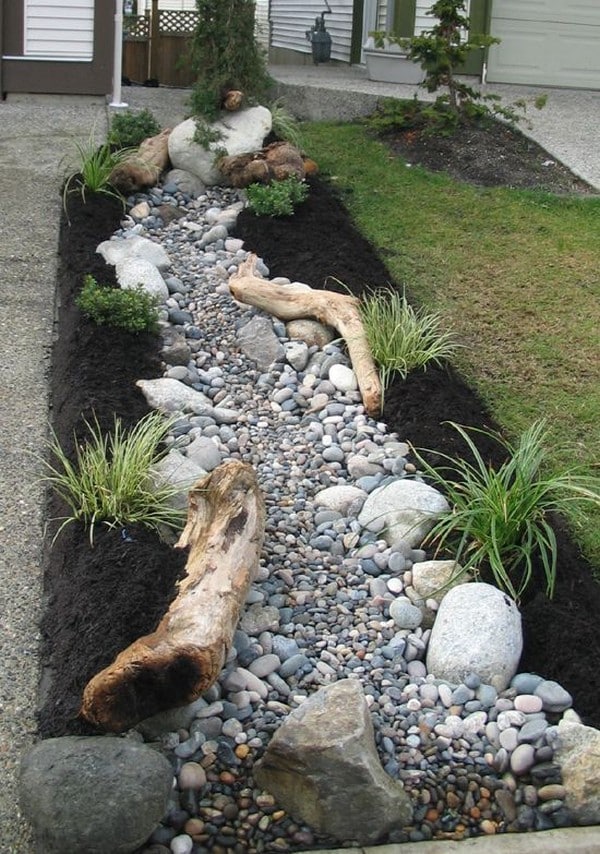
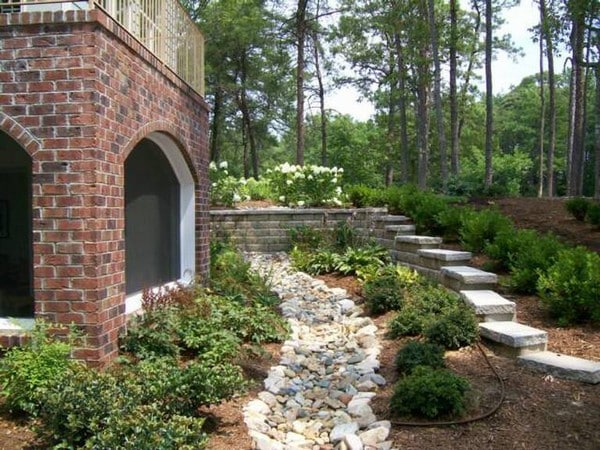
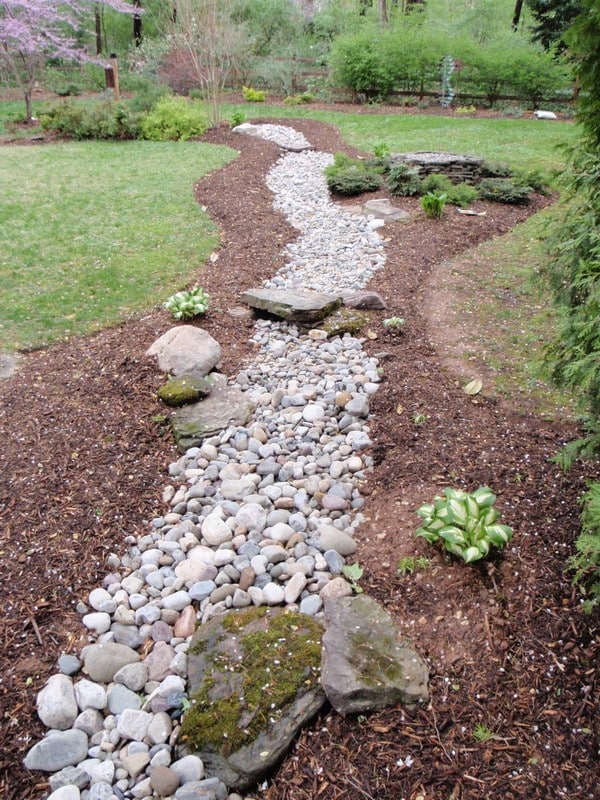
Gorgeous Dry Creek Bed Ideas. Enjoy!

Maintenance & Care Tips
Once your dry creek bed is complete, it requires very little maintenance.
- Check for debris & remove fallen leaves to keep the creek clean.
- Adjust rocks as needed after heavy rains.
- Trim plants & grasses around the edges for a polished look.
- Replenish small stones occasionally to maintain the streambed.
Tip: If weeds pop up through the stones, use a vinegar-based natural weed killer instead of chemicals.
A dry creek bed is one of the easiest and most effective ways to enhance your landscape while improving drainage. Whether you’re dealing with excess rainwater or just want to beautify your outdoor space, this project is both practical and decorative.


